Regular maintenance is the key to ensuring the longevity of your sewing machine – even when it’s made by Singer.
That’s because occasional issues are bound to happen no matter how expensive the machine you’ve bought.
And, as a sewist, it’s your duty to fix these issues as soon as you notice them – before they become a major problem.
One such maintenance-related task is changing the needle.
Although this process is not much different from what you get in other sewing machines, many new sewers still face difficulty.
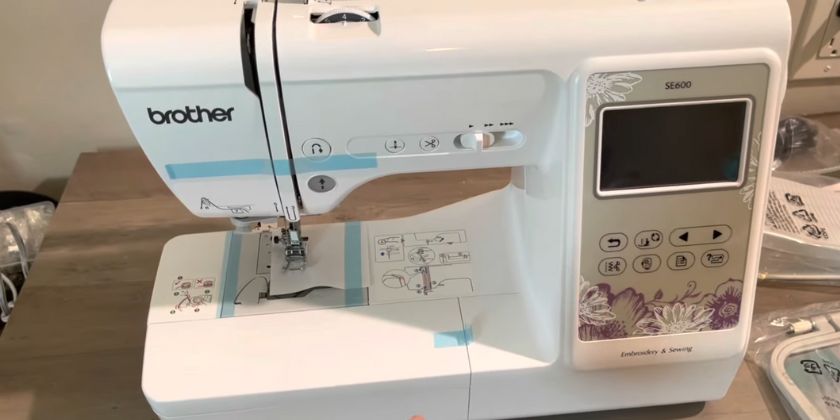
We’ve written a step-by-step guide on changing the needle in Singer sewing machines to fix this issue. This procedure applies to many of the popular Singer machines, such as Singer 4411, Singer 4423, Singer 2277, Singer 1304, etc.
How to Change Needle in Singer Sewing Machine
1. Turn Off the Sewing Machine
As we’re about to change the needle, there’s a risk of you getting accidentally pricked by the needle. To prevent this, you need to turn off the sewing machine until this process is complete.
2. Remove the Existing Needle
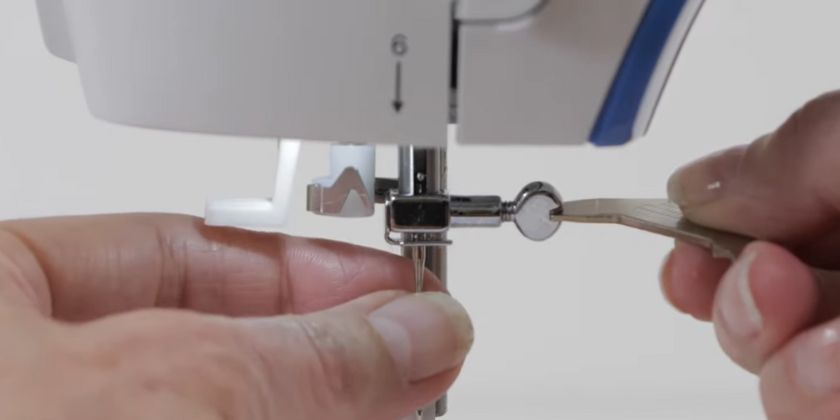
The sewing machine’s needle is held in place by the needle clamp.
That’s why you need to loosen this clamp and then remove the existing needle with your other hand.
Many Singer machines come with a screwdriver in the storage compartment for this purpose. You can also lower down the presser foot (or remove it temporarily) to give your hand a little more space.
Sometimes, a needle can accidentally go into the sewing machine when you lose the needle clamp. Therefore, a should place a small-sized cloth or paper on the feed teeth to prevent this.
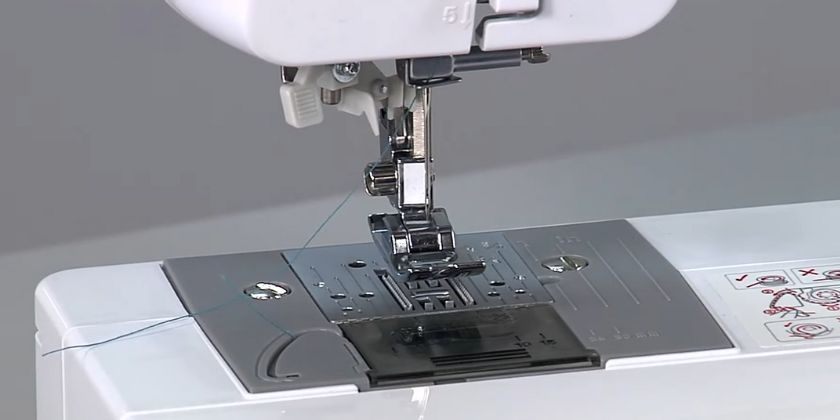
3. Insert the New Needle
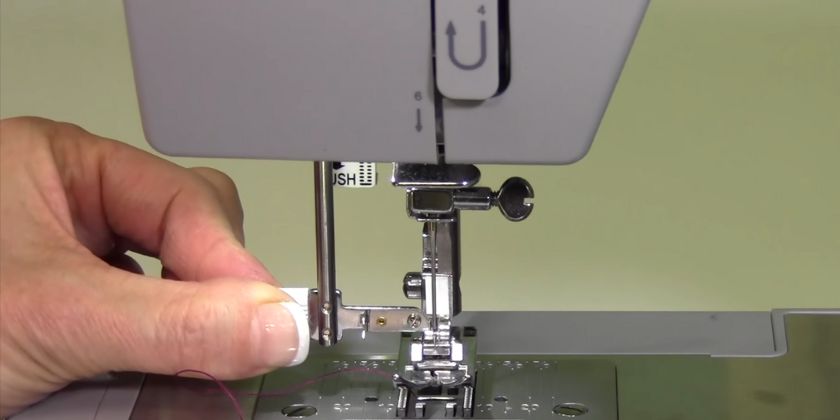
Now, take the new needle and put it into the slot. The flat side of the needle should be on the back, as the clamp cannot hold it otherwise.
Another thing you need to make sure is that the needle goes as high in the slot as possible. Otherwise, it will hit the bobbin area when you start sewing.
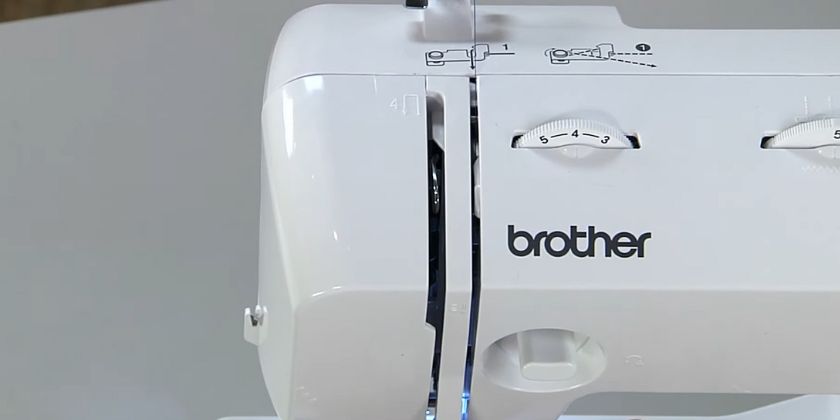
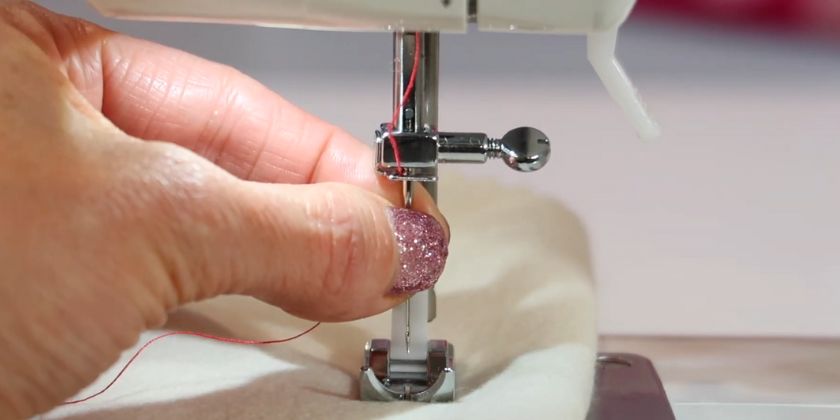
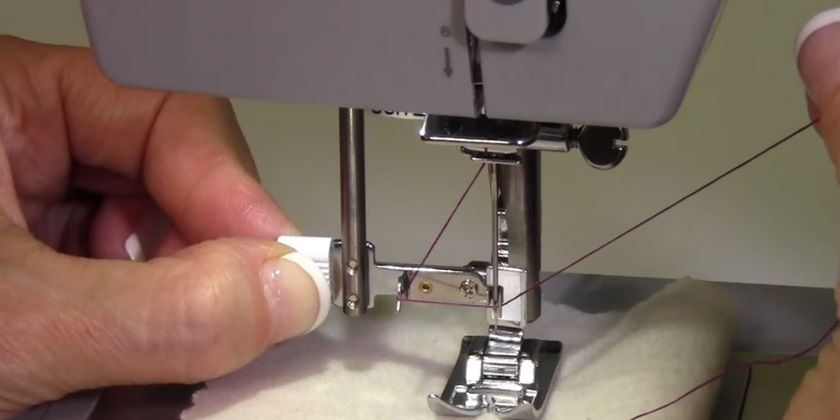
One way you can check whether the needle position is high enough is to match it with the needle threader (if your sewing machine has one). If the needle hole doesn’t align with the threader, you need to move the needle a little higher.
Another way to check is that you’ll only see the thin part of the needle when it’s at the highest position.
After that, turn the needle clamp with the screw in the clockwise direction. You can also use your hand for this purpose, but make sure not to overtight it, as it can put extra stress on the clamp and damage it in the long run.
Once you’ve tightened the clamp, remove the cloth you placed over the bobbin area.
4. Turn the Sewing Machine Back On
That’s it. You’ve changed the needle in your Singer machine, and now it’s ready to resume the sewing projects.
Why Should You Change the Needle in Sewing Machines?
Now that we’ve discussed how to change the needle in your Singer sewing machine let’s talk about why you should even do that in the first place.
You’re Stitching A New Fabric
A new fabric is the most common reason for changing a sewing machine needle. Often, sewists get different types of projects that demand different types of fabrics (leather, denim, lawn, etc.).
These fabrics vary in thickness, so you need different sizes and types of needles to sew them. As a general rule, the thicker a fabric is, the bigger a needle it’ll need to be sewn.
With that said, you also need to verify that the needle you’re trying to put into the machine is compatible. That’s because no matter how premium a sewing machine is, it won’t support all needle sizes.
Therefore, go through your owner manual to have more information in this regard.
Machine Skipping Stitches
When the needle goes dull or bent due to wear out, it cannot penetrate the fabric completely. As a result, you get skipped stitches.
These stitches make the design look poor, and the gaps between them make the whole structure fragile and reduce its durability.
This issue can be fixed by either straightening the needle or replacing it.
Thread Breaks
The thread breakage is another reason you might want to change the needle.
A worn-out needle can create rough spots or snags on the fabric, frequently breaking thread. This breakage not only makes the project lengthier (as you need to rethread multiple times) but also degrades its quality.
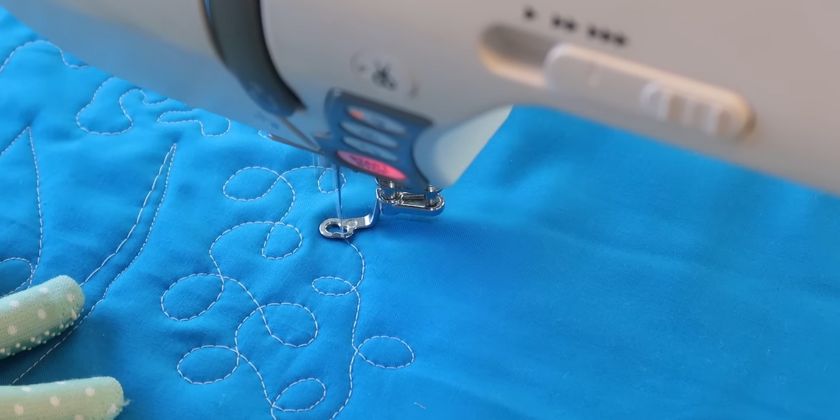
Loopy Stitches
Another problem that can arise with a bent needle is the loopy stitches.
The inconsistent stitching caused by the damaged needle can result in loops and knots in the thread. These loops and knots, in turn, can affect your project’s overall appearance and make the seam weak and unstable.
Fabric Damage
There’s also a risk of fabric damage if you continue sewing with a bent needle.
That’s because these needles can no longer smoothly pass through the fabric as they should, resulting in the fabric puckering or gathering unevenly.
How Does The Singer Automatic Needle Threader Work?
Many modern singer machines come with a feature called an automatic needle threader. As its name suggests, this feature is there to help sewers put the threader into the needle hole.
Here’s how it works:
- Set the needle to its highest position by adjusting the handwheel.
- Lower down the presser foot.
- Pull down the needle threader slightly and put the thread under its guide.
- Align the needle threader with the needle hole.
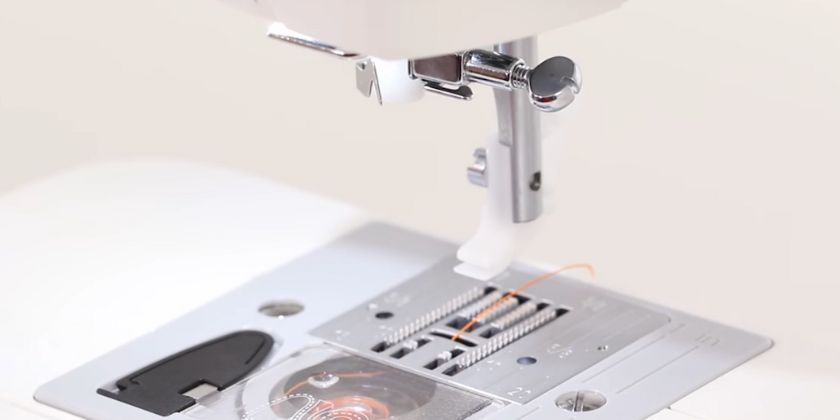
- Rotate the needle threader head and take the one end of the thread under its hook, as shown in the picture above.
- Release the needle threader.
You’ll see a thread loop on the needle hole. Pull this loop, and you’re done. Now, you can start sewing.