Threading is an essential process for sewing machines. Because no matter how high-end sewing machines you’ve got, it will not start sewing unless you thread it.
And even if your machine is not new, you’re supposed to thread it whenever there’s a new project, you’re switching to a different thread color/type, or you’re doing routine maintenance.
But that’s where many newbies hesitate as they get overwhelmed by this process. As a result, they prefer to get it done by a seasoned sewist, which costs them money and time. The reality is different, however.
For example, if we talk about the Brother sewing machines, this process doesn’t take more than 5-10 minutes.
And in this post, we’ll show you exactly how you can thread these machines.
How to Thread a Brother Sewing Machine?
1. Winding the Bobbin
The first step in the sewing machine threading is winding the bobbin.
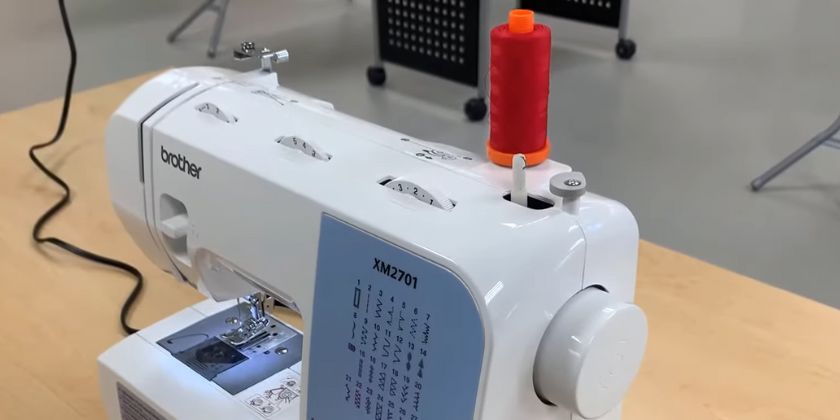
To do that, pull out the spool pin from the top and put the spool of thread onto it. If the spool pin is horizontal, you’ll have to place the spool cap to secure it.
Next, pull the thread from the spool and route it around the thread guide and thread guide cover, as shown in the picture. There will also be diagrams on your sewing machines for further guidance.
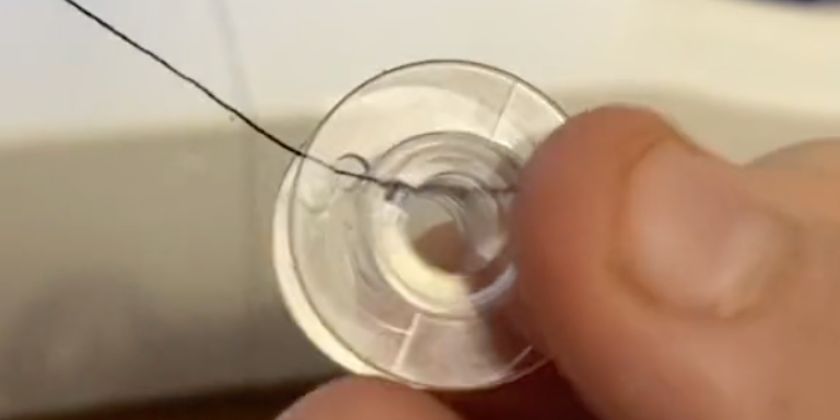
Take an empty bobbin, pass the thread on the top-side hole of the bobbin, and then place it on the winder shaft. Then, hold one end of the thread and push the foot pedal to start winding the bobbin.
After the bobbin winds a few times, cut the excess thread from the bobbin (that you were holding) and continue winding it until it fully winds.
Many machines will automatically stop working if the bobbin is full. But If your Brother sewing machine doesn’t have this feature, you’ll have to stop the machine manually.
Lastly, you’ll have to cut the other end of the thread and remove it from the winder shaft.
2. Threading the Upper Thread
For threading the upper thread, adjust the needle position to be at the highest point (by adjusting the handwheel) and turn off the machine.
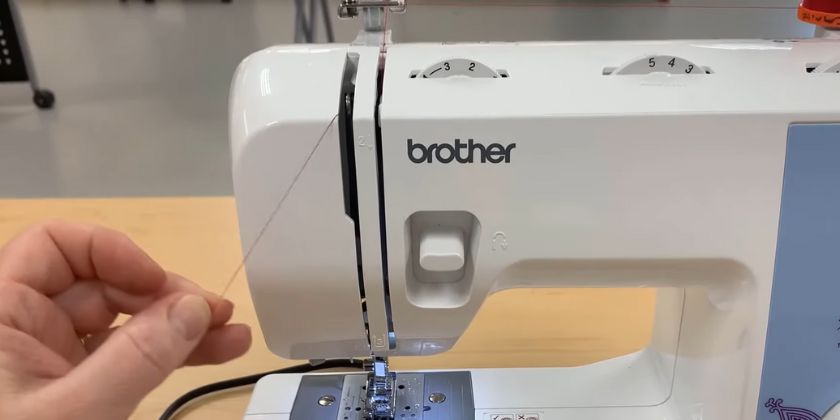
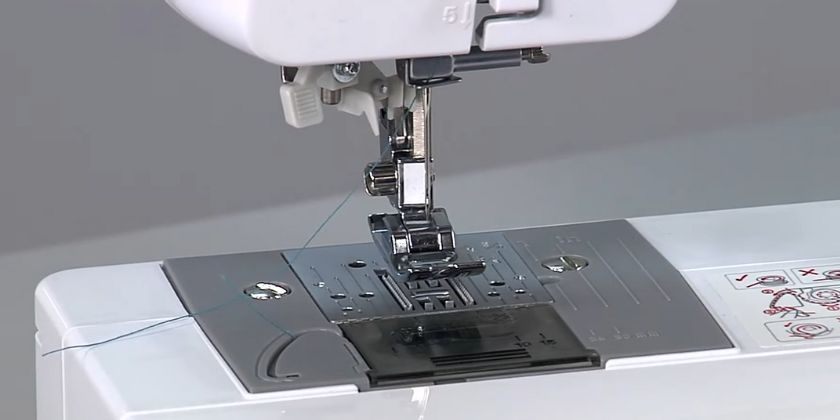
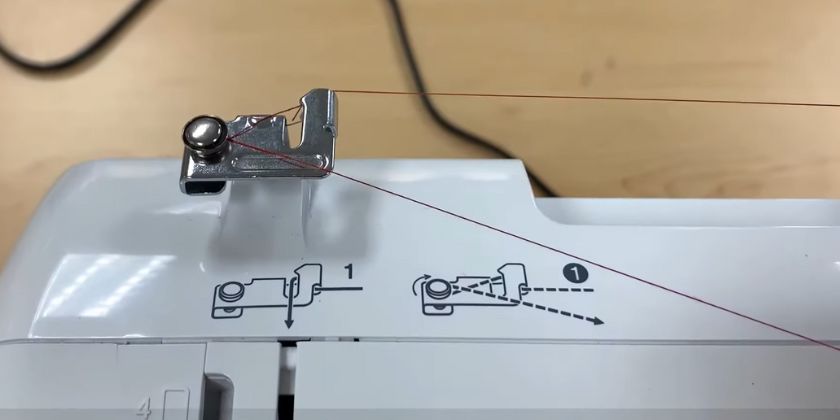
Then, route the thread around the thread guide and pull it down into the right open groove. Once you’re at the bottom, make a U-turn and route the thread through the left groove. At the top of the left groove, make a U-turn once again around a hook and pull the thread to the bottom, as shown in the picture.
This part is a little complicated, but there will be numbering on the sewing machine to help you out.
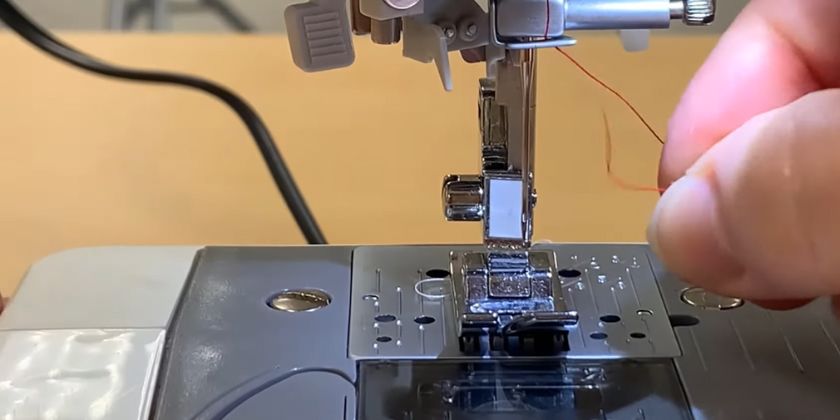
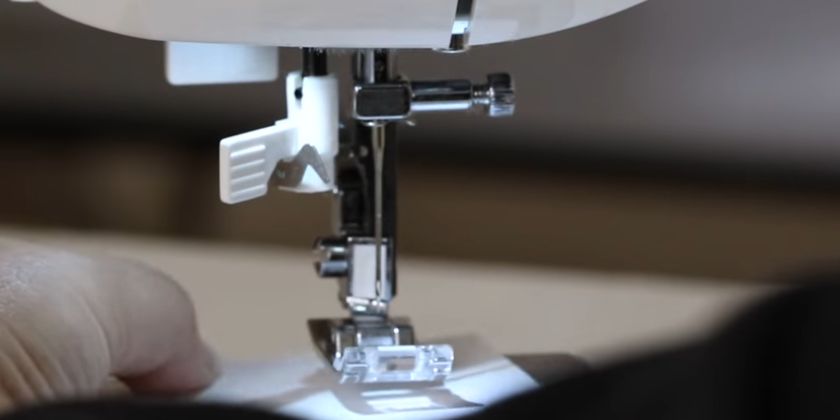
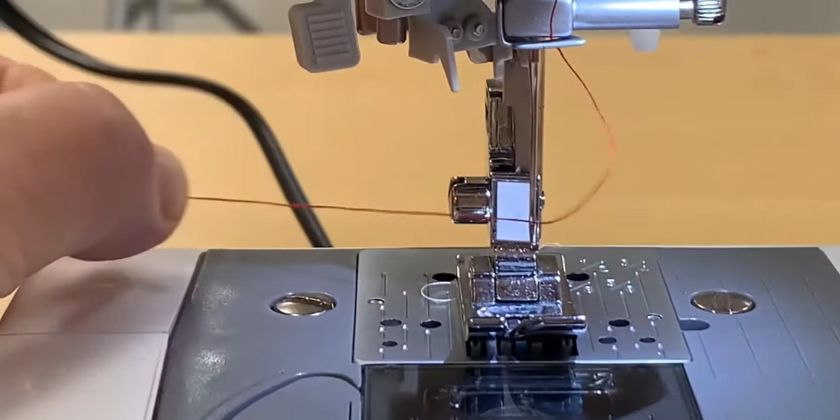
Next, move the thread behind the needle bar and pass it through the needle hole. If your sewing machine has an automatic needle threader, you can use that feature. Otherwise, you’ll have to do it manually.
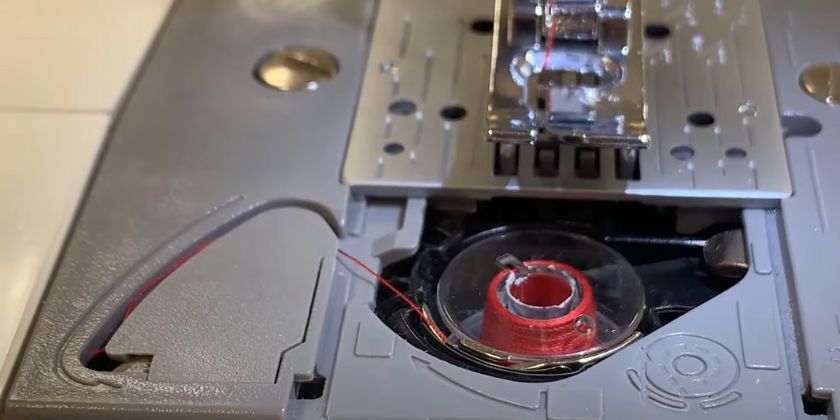
3. Placing the Bobbin
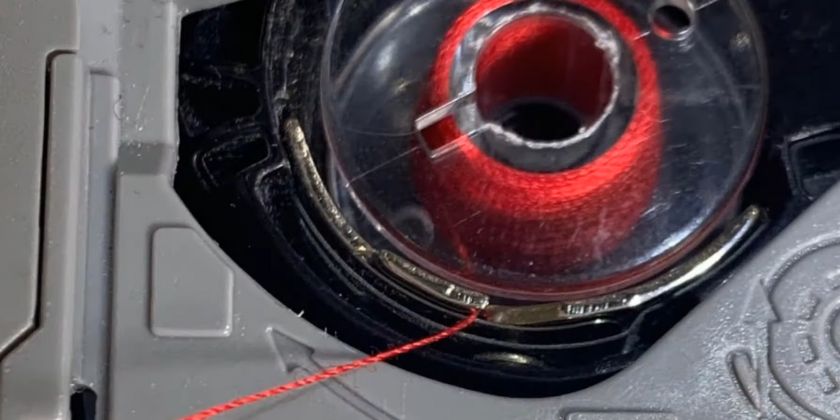
Now, place the bobbin inside the bobbin case.
The thread should come out from the left side of the bobbin. Slide the thread under the silver slit in the bobbin case, shown in the picture.
Then route the thread under a C-shaped slit and cut the excess thread.
4. Test the Sewing Machine
Lastly, turn on the machine and lower the presser foot to test if the machine is working properly.
Related Posts
- Top 5 Best Brother Embroidery Machines
- How to Change Needle in Singer Sewing Machine? (In 4 Simple Steps)
- How to Change Needle on a Brother Sewing Machine? (In 5 Simple Steps)
Frequently Asked Questions
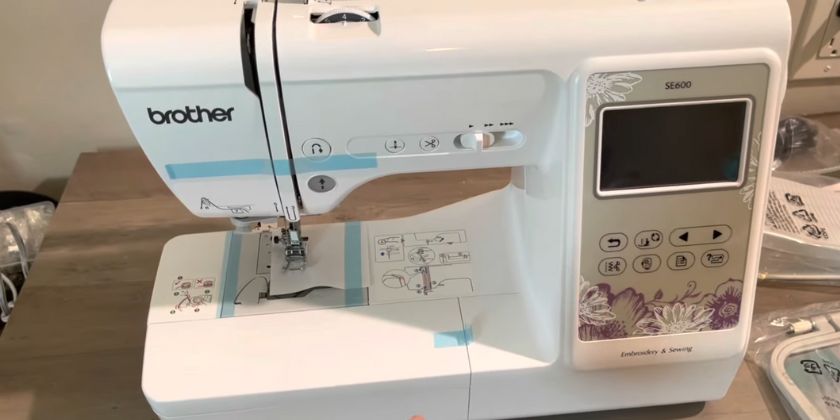
How Do I Manually Thread The Brother SE600?
The threading process for the Brother SE600 embroidery machine is similar to that of other Brother sewing machines.
Here’s what you need to do:
- Adjust the needle position to the max height.
- Put the thread spool onto the spool pin and secure it with a spool cap.
- Pull out some thread from the spool.
- Route it through tension discs and grooves toward the needle area.
- Pass the thread through the needle’s eye.
- Place the bobbin in the bobbin area.
- Route the bobbin thread around the C-section slit and remove the excess thread.
How to Fix If Brother Embroidery Machine Is Not Catching The Bobbin Thread?
If your Brother embroidery is not able to catch the bobbin thread, you should check the bobbin area, needle, and upper thread, as these are the areas where the problem usually lies.
Why is My Sewing Machine Not Picking Thread?
I recommend checking the bobbin if your sewing machine is not picking thread. Make sure it’s compatible with your sewing machine.
What Are The Most Common Sewing Machine Troubles?
The most common problems you can face while operating a sewing machine include:
- Bent or broken sewing machine needle.
- Fabric is not advancing as you sew.
- Inconsistent stitch length.
- Thread breaking frequently.
- Thread getting stuck in the feed dogs or bobbin area.
- Inconsistent bobbin tension.
- Needle unthreading itself before you start sewing.
- Thread loosing or tangling
- Grinding or squeaking sounds coming out of the sewing machine.
Is There A Trick to Threading a Sewing Machine Needle?
Although there’s no trick when inserting the thread into the sewing machine manually, you can put white paper behind the needle hole to increase visibility. It will increase your chances of putting a thread into the needle hole on the first attempt.
What Does Correct Thread Tension Look Like?
To determine if the thread tension is set correctly, inspect both the top and bottom sides of the fabric after sewing. A correct tension will give evenly balanced stitches on both sides.
Why is My Zigzag Stitch Puckering?
When your zigzag stitch, or any stitch for that matter, starts to pucker, it usually indicates an overtight needle tension. Therefore, you should loosen it a little to see if anything improves.